 Still holding on to a box-ful of VHS tapes in your basement? We’ll show you how to transfer those memories onto your computer so you can store them in a a digital drawer.
Let the pros do it for you
A few retail stores that offer this service at their locations or online for about $20 to $35 per tape transferred to DVD. Or you can use an online service and store them on their cloud. This is the most painless method of doing this, but it’s not perfect.
Aside from the price, the downside of using this method is that you don’t have as much control over the format and storage options. You may have gotten rid of those tapes, but then you have to figure out what to do about the pile of DVD’s you got back, or how to download the digital content from the cloud-based services.
The DIY method
If you’d rather have more control over the process, you still have to spend money — not to mention a lot more time — to do it yourself.
What you’ll need
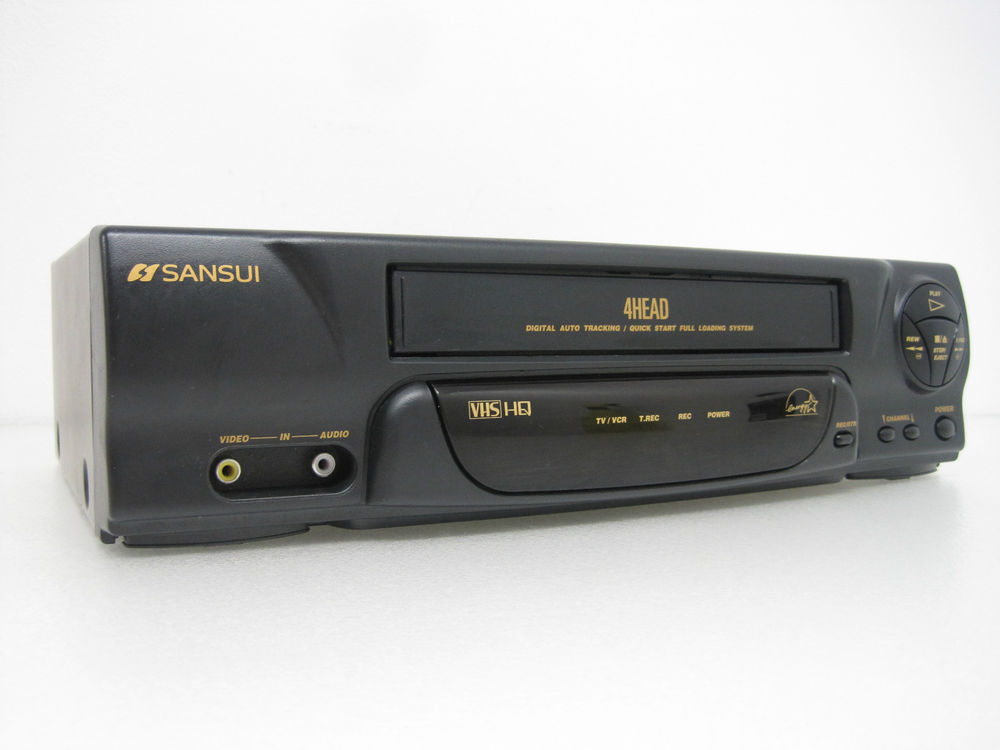
The first thing you’ll need to do is get that old VHS player out of storage. If you got rid of it, you can purchase one from your local consignment store or online (a used one on eBay goes for about $30).
Next, you’ll need an analog converter for your Mac or PC. There are multiple of options to chose from at different price ranges online or at most electronic stores.
Feel free to check out following devices / hardware:
- Diamond Multimedia VC500MAC USB 2.0
- Video Capture USB 2.0 Adapter – PC/Mac
- Elgato Video Capture – Digitize Video for Mac, PC or iPad
You’ll need a Mac or PC with a DVD drive to install the software. If you’re on a newer laptop you may need to purchase either a separate DVD attachment or a converter that offers an online download option for the software.
If you’re planning on digitizing a lot of footage, you should also consider transferring it to an external hard drive so as not to max out the built-in storage on your computer.
Setting everything up
Start by plugging everything in: the USB side of the analog converter goes into the computer, and the three plugs go into the VHS player. Just make sure to connect them to the output option and match the colors. You may need an adapter that comes with the converter.
Install the necessary software that came with the converter. In our case, that’s the drive and the editing program.
Now dust off that old VHS tape and put it in the player. This applies only to home movies and not any bootlegged version of a copyrighted movie that may get you in trouble.
Pause the video on the player and adjust the capture settings and destination folder on your computer using the program you just installed. The best file formats to store video in are: .MPG, .MOV or .MP4.
Once you’ve made these adjustments, queue up the VHS tape to the part you want to transfer. Chances are, not all of your video is worth saving.
Time to digitize!
If you can see the video playing on your computer, press the record option on the screen and roll the tape on the VHS player. Let it play for as long you want the clip to be. Anything you do within the player (fast-forward, pause, rewind) will be captured on the digital version of your clip.
When you finish recording, label your clip and send it to the folder you have selected.
Storage options
Once saved, you can chose to keep the file on your computer, or move it to a USB or external hard drive to collect dust somewhere else.
Or you can upload it to a cloud-based storage service like an Online Storage for easy access from any device.
Editing and sharing
If you’re feeling really adventurous, you can even combine all your footage into a home movie using a basic editing program or the software that came with your converter.
Ready to go public with your past memories? Upload your creation to a public video player video sharing site, then share the link with your friends and family.
Disclaimer: I do not encourage or condone the illegal duplication or distribution of copyrighted content.